Friday 29 March 2013

My Sale

Hi All not much to update today. i have been busy all week. have done some cleaning for my sister and make cakes with my eldest nephew see...


and i managed to get some cleaning done for myself. i have had time to set up another one of my massive craft Sales. this time though everything is on 3 for £1 which is going to be held on the 15th April. im just so fed up with having boxes and boxes of stuff laying round my room. so i have been really busy making more crafts to sell along side the numerous amount of cards i have to sell.

Til Next time love Beth x


Monday 25 March 2013

Sweetie Bags

Heres another great tutorial for you - the Sweetie bag. great as treats for the kids or good for the wife/hubby for their birthday - just change the sweets and the topper to suit the person.


First make a choice on the sweets. i chose mini eggs as it is coming up to Easter. I found 15 of the eggs fit just right. Put your choice of sweets into a C6 clear resealable bag.
1.

Now put this aside for a few minutes. You need to choose the color of the card you want. Cut it to 26 cm long. Now cut the width of the card to 11 cm (Cut this longways) When you have done this you need to score the card at 10 cm, 13 cm and 23 cm. But don't cut of the excess as this will be the flap.

2.

so it now folds up like this. 

3.


You then want to make sure that you can see the sweets inside - so you need to cut an aperture (if you look at image 2, you want to cut it in the first section) - it can be any shape or any size.

4.


Now you have an aperture you can put the sweets in. fold it up like image 3 above so that the aperture is to the front. if you pull the top flap up you need to put double sided tape onto the two lips of the card. place the clear sweet bag in so the sweets touch the bottom and while holding the bag in the card case squeeze the two lips together. cut of any excess clear bag and glue the flap down. so you end up with something like this.

5.

Now to make the topper. cut a contrasting piece of card measuring 11 cm by 4 cm. I added the cut out from the aperture to create a background, a sentiment and some embellishments. But you can decorate it any way you want to. 
6.


Then all you need to do is attach it to the top flat like this...
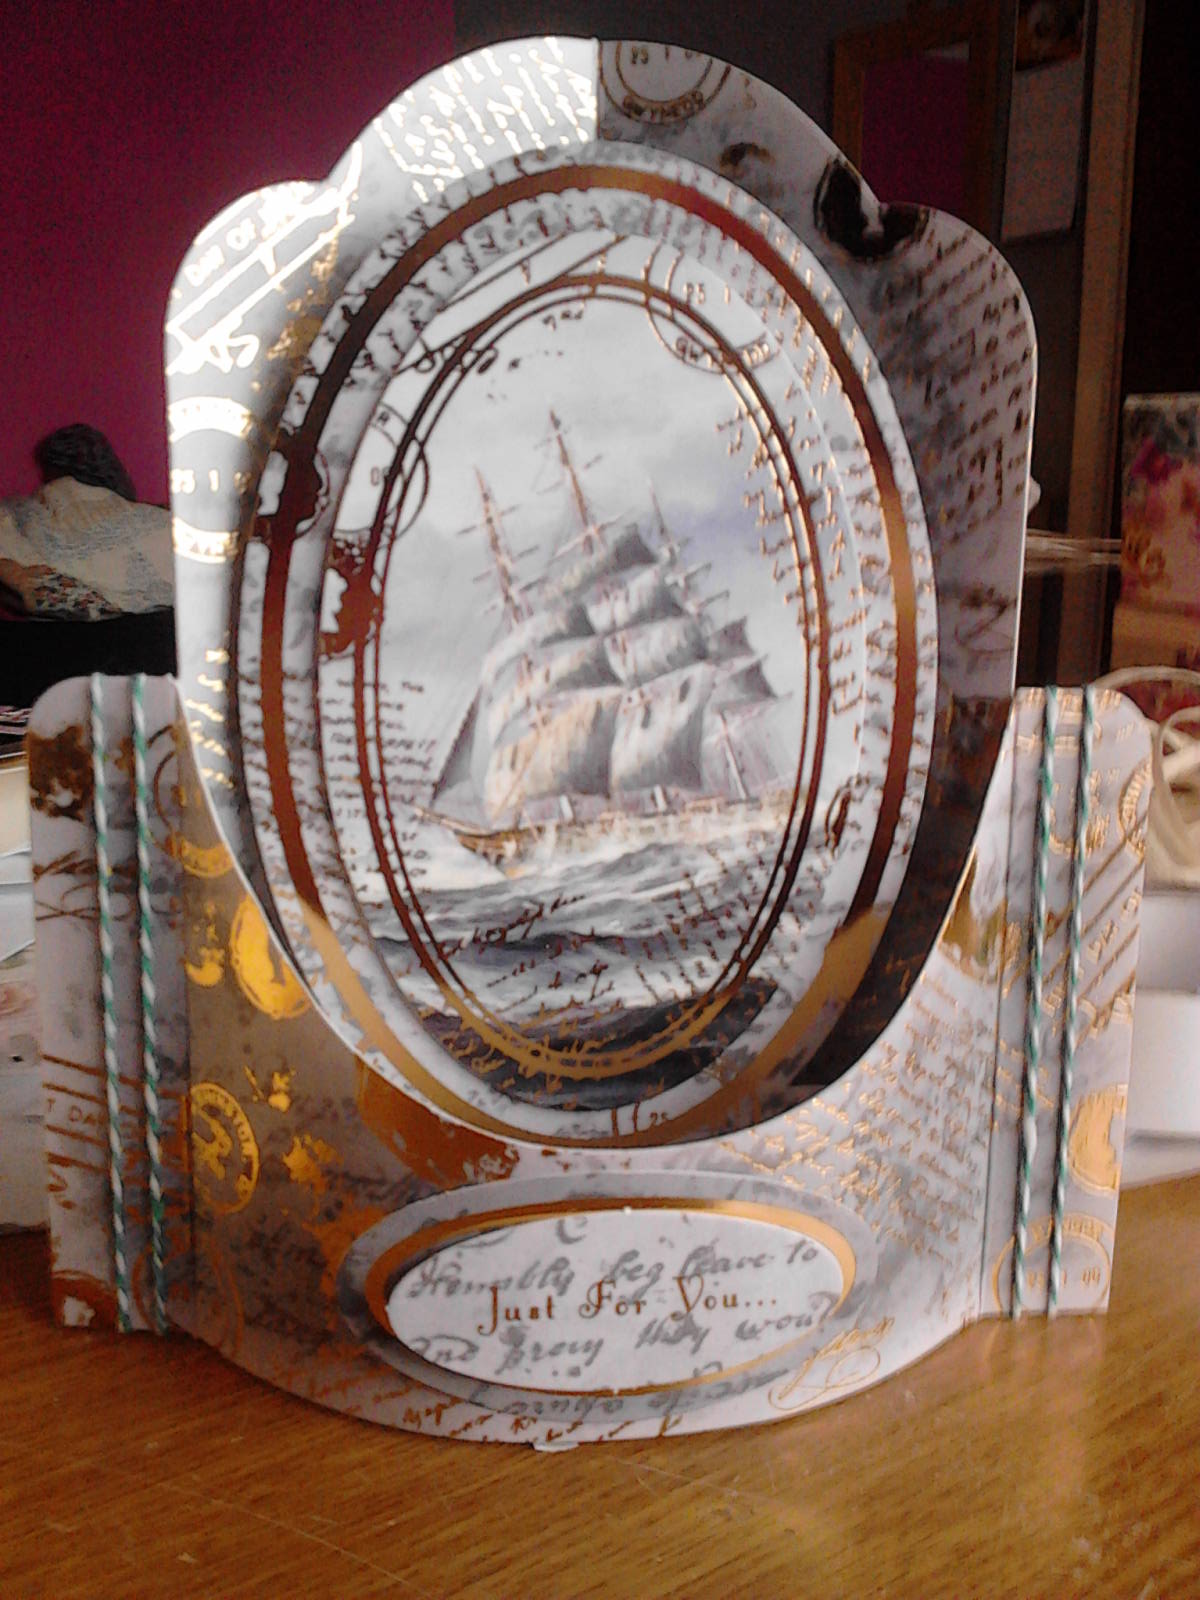
7.


Now you have a sweetie bag ready to be handed out. you can decorate these any way you want, for any person and with any sweets that you fancy. Hope you enjoyed this tutorial. Why not send a pic of your sweet bags to Bethanyhancock@rocketmail.com as i would love to see them xx


Till next time love Beth x


Tuesday 19 March 2013

New Cards

Here are some of the cards i made last night with the hunky dory timeless elegance collection that i won.


2 Female dressing table cards...


1 male dressing table card...


Card made out of various toppers. ..


2 teacup easel cards...


1 frame card...


This collection is really nice to work with. If you want something different to try, i suggest that you give it a go. With the added factor that it is all adorable scorable card stock the backing papers are really easy to score, fold and curve. 

Until next time x


Monday 18 March 2013

I Won?...

Can't believe my luck - the postman came this morning and i discovered that i won the hunky dory  blog competition.I didn't get any notification that i had won. so i was very surprised when i got a knock on the door this morning. I had won the complete timeless elegance luxury collection worth £20. I have been eyeing this collection for a while but i have never found a solid reason to buy it; but now i get to try it without even paying postage.I appologise for the blurry photos before hand - we have rain at moment so it gets very dark.


This is how it came to me this morning


12 pieces of adorable scorable and 2 sets of letter cut outs


13 topper sheets


dressing table card making set


frame card making set


teacup card making set 


and not sure if you can see but 2 sheets of parchment doilies and co-ordinating envelopes.


So im going to have some fun now and upload some pics of what i made in the morning! night all.....


Wednesday 13 March 2013

New Design


Hey guys - How do you like the new blog design. Leave me a note of what you think! x


Sunday 10 March 2013

Reflective stamping

I watched this great video on Do crafts creativity TV yesterday and i thought i would have a go myself.


Reflective stamping


mount the stamp you wish to use on an acrylic block,  i chose the little boy bunny stamp from the 'somebunny to love' range.


you then cut a strip of card roughly 2 and a half times the height of your stamp...


Then ink up your image and stamp it at the top of the piece of card leaving a 1 cm gap at the top. 


Then you need to do the reflection. Ink up the same image but this time stamp it onto a piece of clean acetate. 


Turn the image over so that the ink is nearest your desk, then turn it 180 degrees clockwise. Place it 1/2 cm under the original image. 


Then while holding the acetate down rub your finger or brayer over the image. when you lift it you will have a slightly lighter but exact copy of the original image.


This is the reflection.... you can now color it whatever way you want and with any medium - so long as you make the reflected image the same colors as the image above and slightly lighter so it looks like a reflection. 


I colored mine with Spectrum noir pens - i added a waterline between the two images. also some black and blue ripples across the lower images. i then mounted it onto black card and its ready to go on a card front. 


Until next time  - - - goodbye and good luck xxx Beth xx


Thrifting


Hi Everybody...

recently i have been having ago at turning old packaging into useful bits and pieces. i have been using old boxes and apple trays recently - and i have had a go at making my own baskets...


The apple basket was made using a 12 x 12 sheet of card - it was a template from this months card making and paper crafts magazine - it was meant to be an Easter basket but i decorated it differently and now i have a stylish fruit bowl x


This tray was what my apples came in - so i peeled it apart covered it in paper, put it back together and decorated it.  i didn't want it too stylish as i'm using it as a table tidy - to keep all my scissors and things like that in.


These two above were made using two halves of the same box - i think it was a frubes pouches box. i cut it in half and decorated it, one is now used as a 6 x 6 paper holder and the other for leftover scraps of 6 x 6 paper. 


Saturday 2 March 2013

Hello again xx

Where have the last six months gone - i just can't believe it. so much has happened since i last wrote... i lost my Nan  and Grandad last November and it has pushed me even more into my card making, mainly  to keep  me busy.

Also i now have a fish tank - meet Finn, Gill and Ray (named after my grandad)


On Monday 4th of march i am having a spring card fare to sell all the cards i have been making for mother's day, Easter and just spring in general. Here are some i  have made ...


Hope you like them x

i promise to try and keep up with my blog from now on xx

Love BETH XX